Table of Contents
introduction:
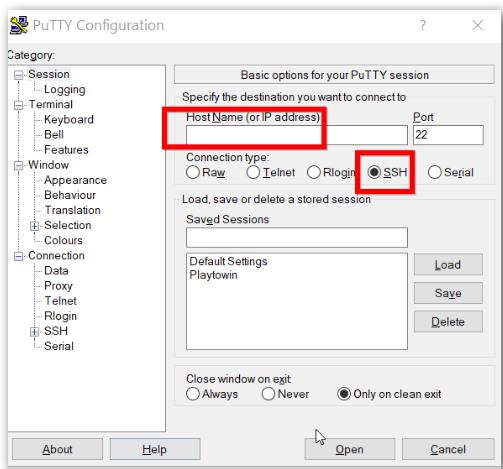
PuTTY is an open-source SSH and Telnet client it was originally developed for Windows, but now it is available for other supported OS like ubuntu or we can say Debian-based machines. Since it is open source, it has gained popularity among Linux users as well.
PuTTY supports a wide range of protocols, including serial connection, rlogin, SFTP, SCP, Telnet, and SSH.
prerequisites
a ubuntu based machine
superuser privileges
install PuTTY in ubuntu
step 1 : add universe repository
first, you have to add the universe repository in ubuntu, because PuTTY is available in the universe repository in newer versions you won’t need to install this repository but for older versions or ubuntu servers you need to install it manually
open the terminal by pressing ctrl + alt + T and add a new repository by running :
sudo add-apt-repository universestep 2: update the packages
then update your packages by running:
sudo apt updatetype your sudo password to start the process.
step 3: install putty
install PuTTY by running this command
sudo apt install -y putty
step 4: verify PuTTY installation
and then verify that you have installed PuTTY correctly or not by running the version check command :
putty --versionto run PuTTY you can run the command ” putty ” directly to launch the GUI of PuTTY or you can search PuTTY in the apps list.